Mt Shirouma (白馬岳)

Mt Shirouma (or Mt Hakuba, there are two readings of the same kanji) is located in the Hakuba area, which is well known for the ski resorts. It is also the location of one the longest snow valley in Japan. Simply known as 大雪渓(the great snow valley), this offers a shortcut up to Mt Hakuba during winter and spring. Calling it a shortcut is a bit of a misnomer. It is still a long 10~12 hours hike. However, it reduces what is usually a 2-day trip to a single day trip.

The long hike was make longer this year due to the road between the Futamata gate (二股ゲート) and Sarukura (猿倉). Originally planned to be open ahead of golden week, it remained closed. Vehicles had to park an hour’s walk away from the trailhead.

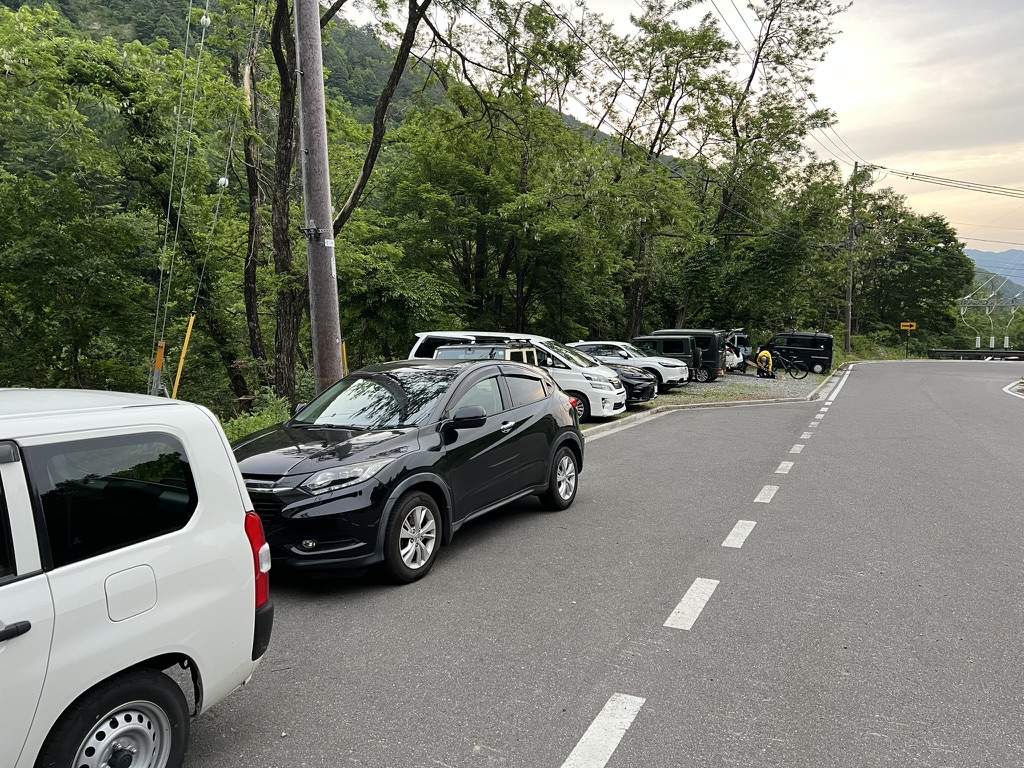
There was about 15 spots available at the car park depending how cars are parked. It was mostly fully by the time I arrived and I took one of the last 2 spots. Some people were putting together their bicycles to ride up the closed road ahead to Sarukura.

Along the way to Sarukura, I spotted a helicopter loading up supplies to be carried to the mountain hut. It would make a number of trips back and forth that morning.

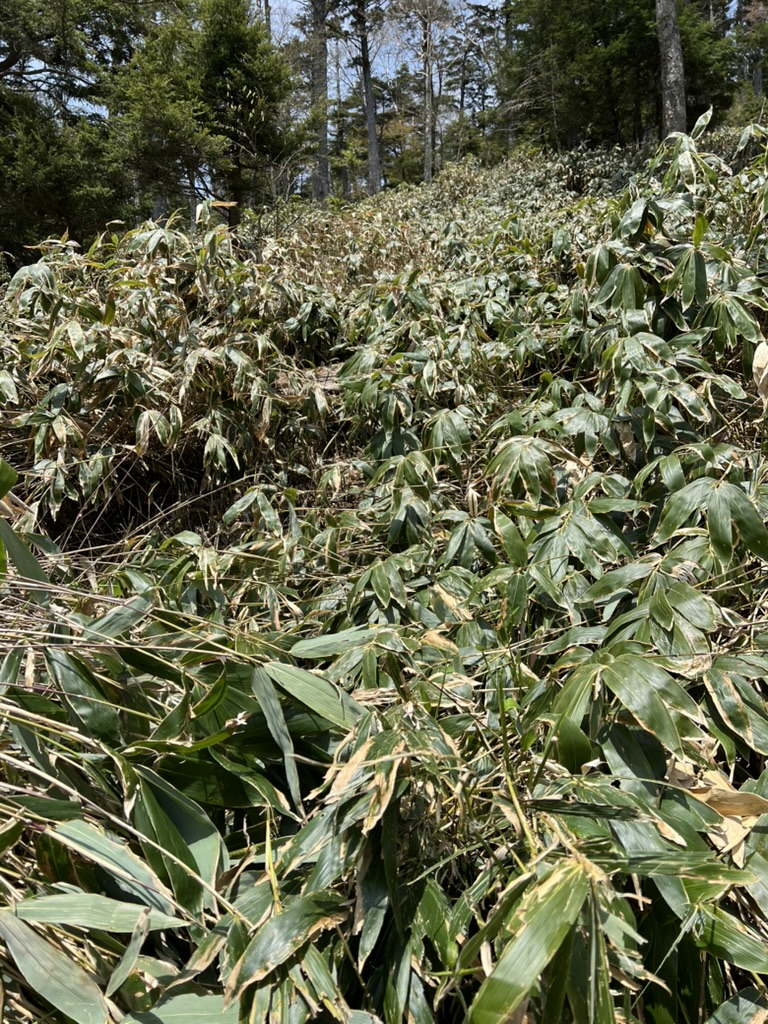
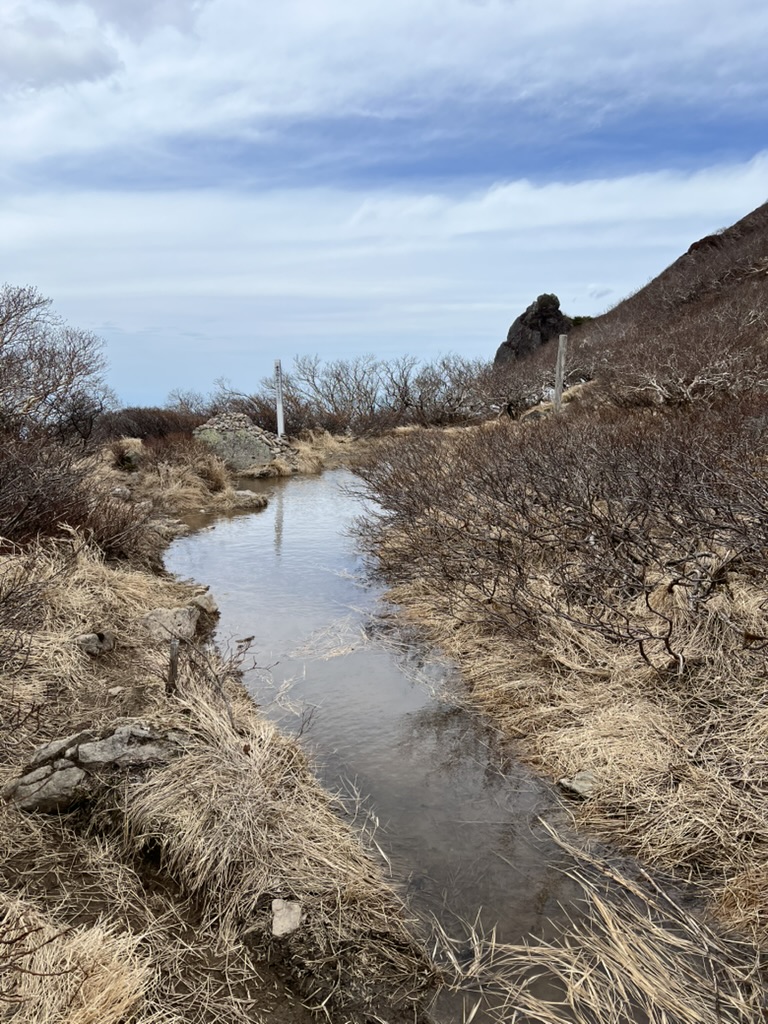
The path from Sarukura was rough and overgrown. Many trees were once covered by the snow but now they where breaking through and stuck out in weird angles. There was a particularly iffy spot where it seemed like I had to cross a swelling river, but the snow bridges around it were either gone or thinned out so much that it didn’t look safe.

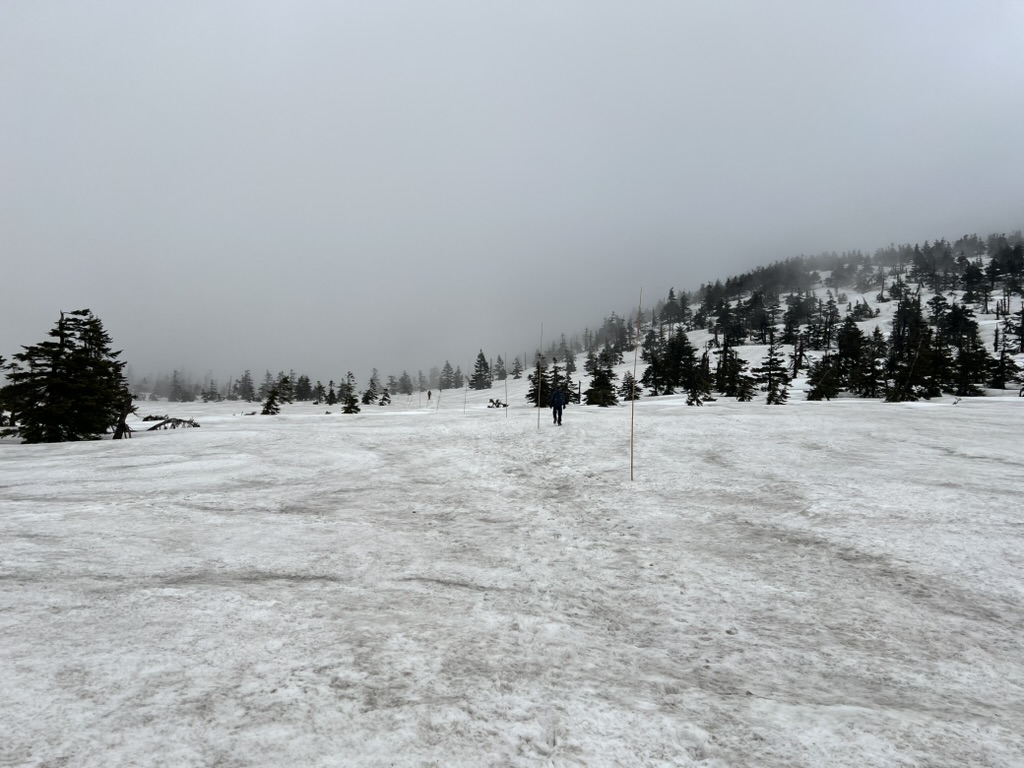
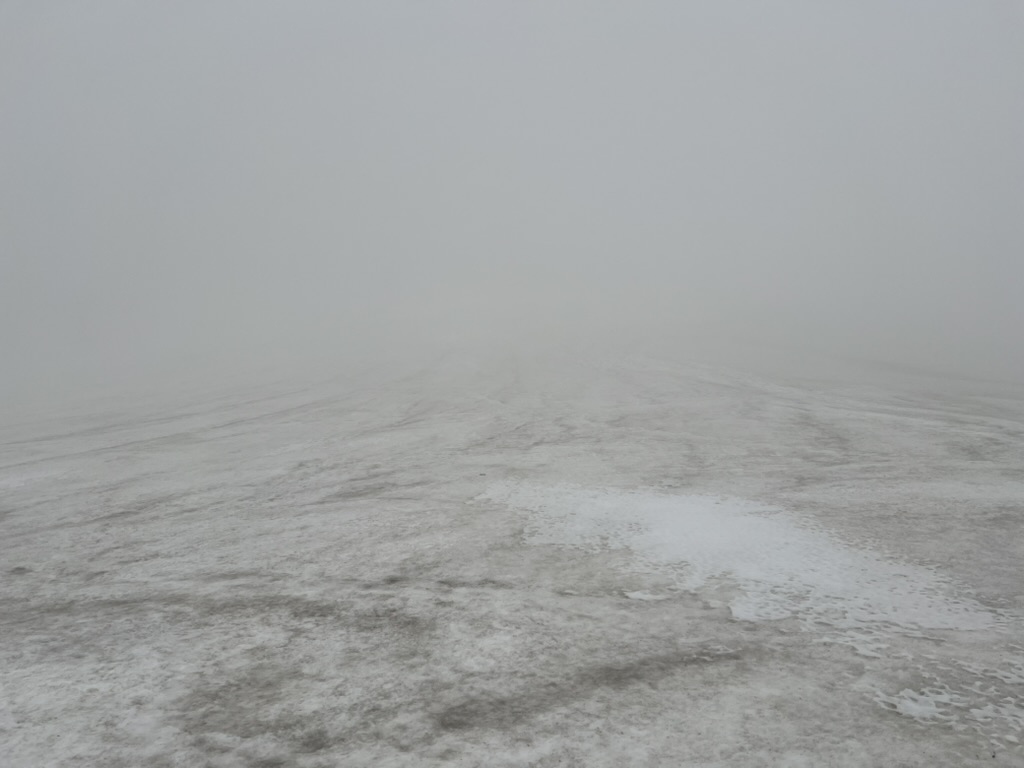
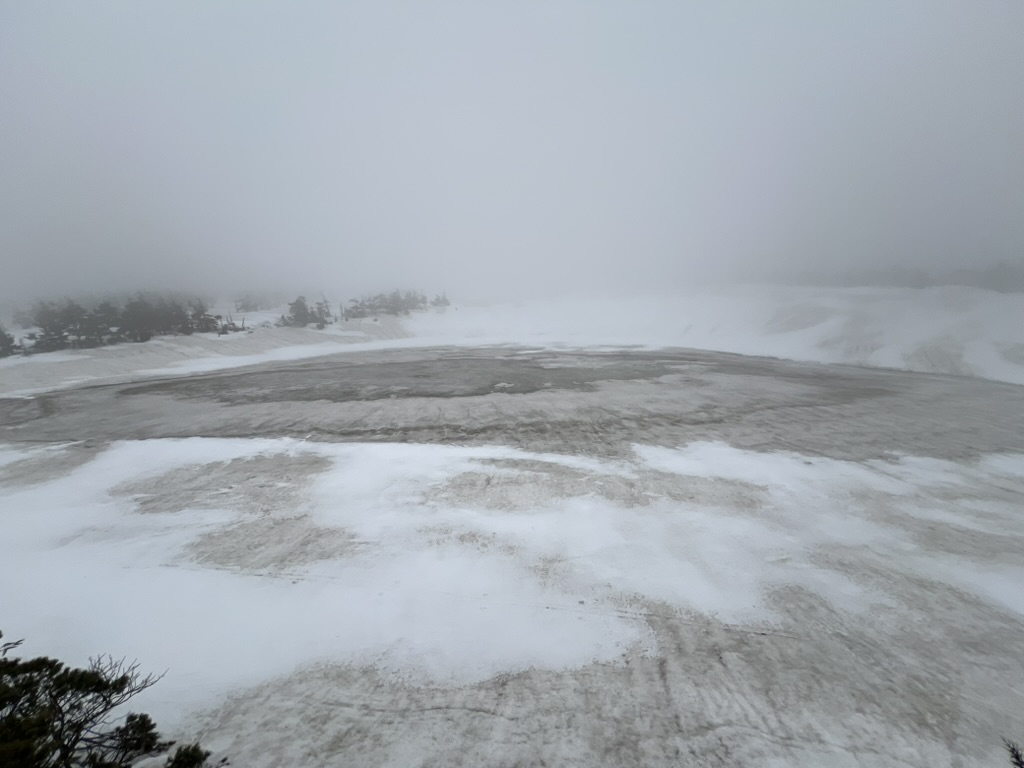
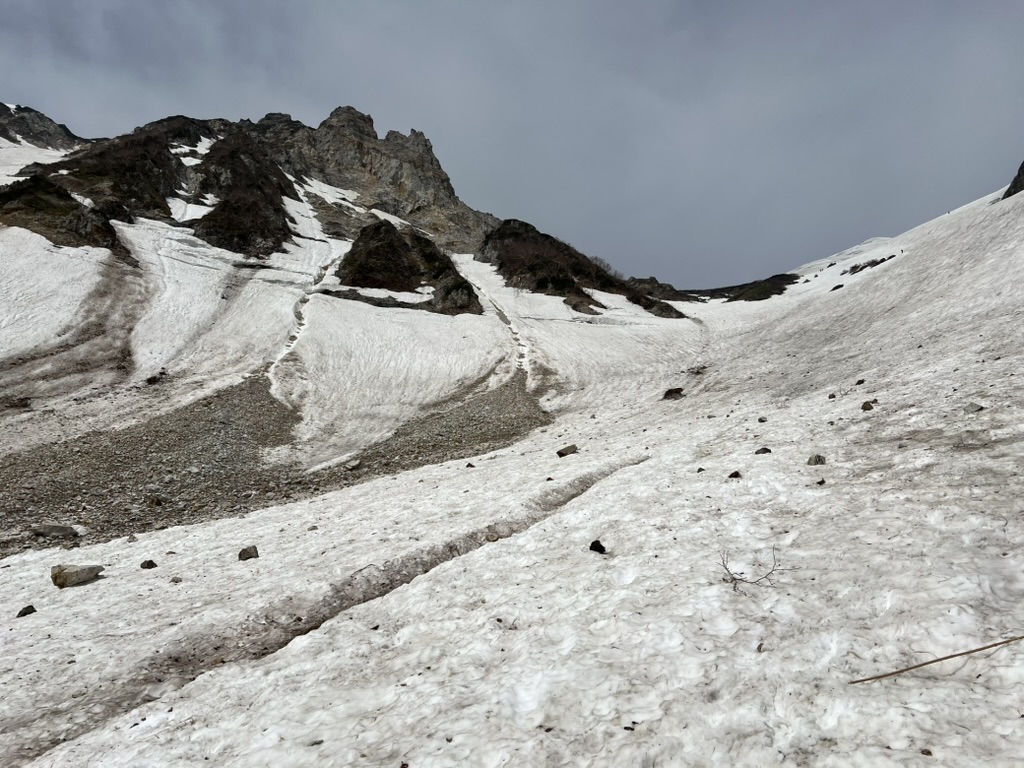
After beating through all the vegetation and not falling into any rivers, the view opens up to a large expanse of snow flanked by various peaks on both sides. There it was, the great snow valley.

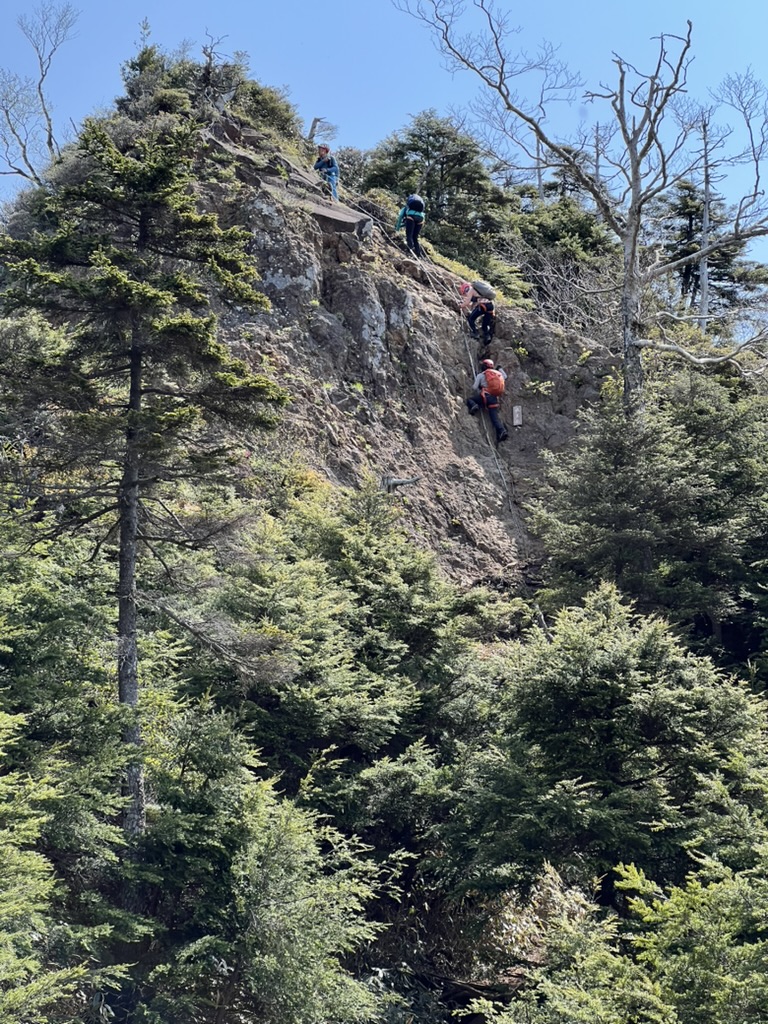
Being late in season, the snow here is crunchy and strewn full of debris carried down by melting snow. Throughout the later half of the day, I could hear the sound of mini avalanches as the melting ice cause pieces of rock to break off from the cliffs around the side the valley.

As the gradient of the slope got steeper, I swapped out my trekking poles for an ice axe. It was pretty tiring going straight so I started to zigzag my way up. Even so, I got tired enough and at some point I was stopping after every few steps.

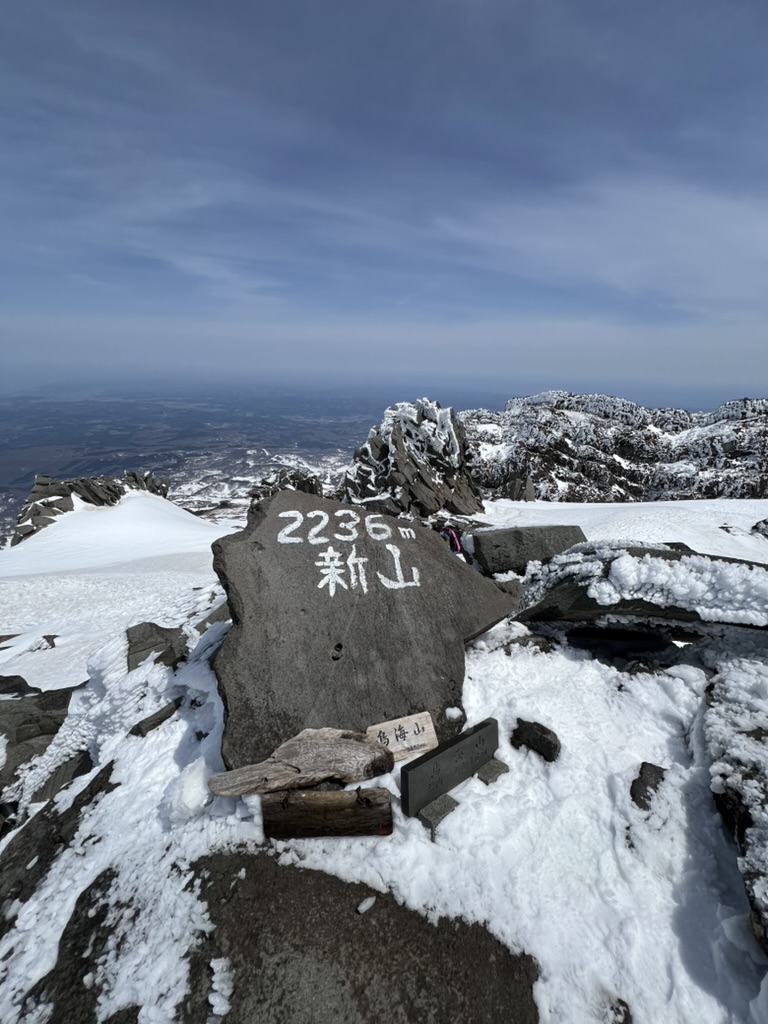
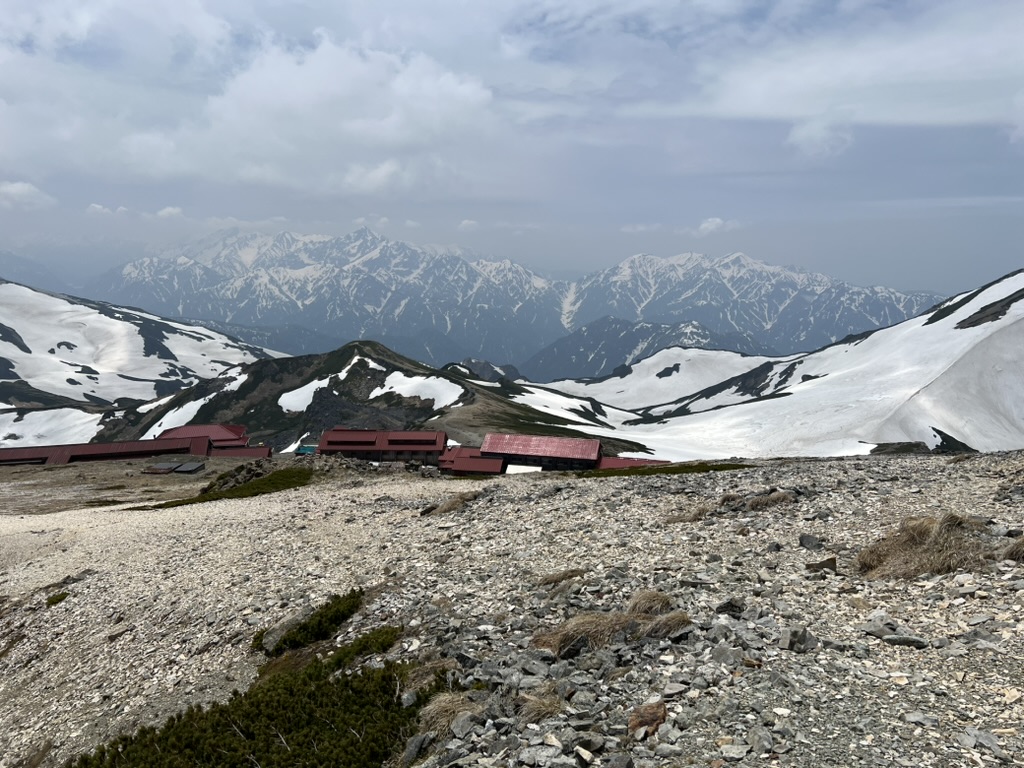
At long last, I reached the Hakuba Hut (白馬山荘), which is just minutes from the peak. Here, the snow vanished. I confirmed with the staff at the hut that there was no snow further ahead. Then, I took off my crampons and left my backpack behind in the hut for a short walk to the peak.

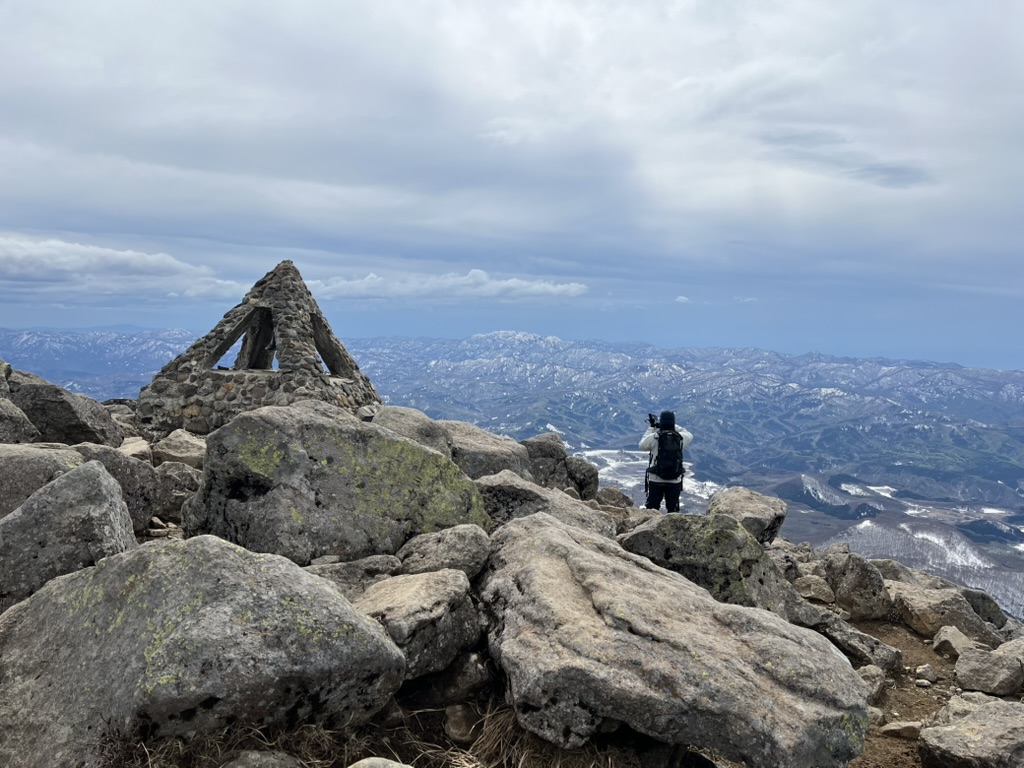
Returning from the peak back down to the hut, I was greeted with the majestic sight of Mt Tsurugi and Mt Tateyama, two other of the hundred famous mountains. I took in the view as I ate my lunch, and feeling my energy coming back, headed back down.

Getting there

Date hiked: 2025/06/08

Stayed the night before at Kurobe Sun Valley Hotel. It’s a really nice place and I was sad that I didn’t get to enjoy it much since I arrived late and had to leave before the break of dawn. From the hotel, it was a 40 minutes drive to the trailhead.

For the trailhead and car park, I set the navigation to 中部電力二股水力発電所.

YAMAP track: https://yamap.com/activities/40641207

Mt Sukai (皇海山)

I had imagined that Mt Sukai would be just be a heavily forested hiked and I’d be beating my way through the bushes. I was mostly right but there were some small scrambles to balance it out.

I started the hike early in the morning at 5:30am after driving there for a bit over an hour from my hotel. From the car park, it’s about an hour’s walk up a closed but mostly paved road to the start of the trail head.

There’s quite a bit of these kinds of road, where at some point whoever was maintaining the road decided it was not worth it anymore and it just gets closed. Looking at the tracks on the ground, it seemed like someone might have rode a bike to close the distance.

The trail head

Two hours in, I reached the Koshin mountain hut (庚申山荘). Like the road I passed, it has now fallen out of disrepair and no longer operated. It looked a little spooky, even under the bright morning sun. When I passed by again later on the way down with an overcast sky, it gave off creepy vibes. The toilet nearby is still open though. Here, I took a short break to fuel up.

Spooky hut in the woods
Koshin Mountain Hut

The route that I took today is apparently what is known as a “classic route”, which means that it was once used by the people of yore. It also usually means a longer and more difficult route compared to the newer routes that have been opened up since that. However, in this case, this route to Mt Sukai, crossing over a few other peaks with numerous ups and downs, is the only route available today. A shorter, 5 hour approach was closed in 2020 from what I read.

The path up until had a very gradual incline. But from the hut onwards, the path started getting rough. Between Yakushidake (薬師岳) and Nokogiriyama (鋸山), there are number of scrambles. For me, this was the best part of the hike. It had been almost half a year ago since I last did any scrambling and I was happy to get back into it. I feel so much more involved being able to use my entire body instead of just my legs. It brought to mind how long winter had been.

A group going down the rock face

Once Nokogiriyama has been passed, the trail returns to mostly normal walking. There is quite a bit of descent between Nokogiriyama and the peak of Mt Sukai but I was able to push on quickly knowing that I was almost the peak.

The peak doesn’t have too much of a view. I took the obligatory picture of the sign showing the name and altitude of the peak, had a quick snack and started back down. It has been about 5 hours since I started, and there was about the same amount of time needed to go back down.

The course I took is a circular route that loops around back down, avoiding some of the peaks I had crossed. The return back wasn’t technical, but it was way more frustrating. Most of the return route is covered by overgrown sasa, a kind of low growing bamboo. In many areas it reached up past my waist. This was bushwalking in the very literal sense of the word. I lost the trail many times. Either the route seemingly disappeared or that there were multiple routes, some probably made by animals that I was confused which to take. It felt like forever.

Overgrown with sasa

Eventually I got through sasa hell and back on a much gentler path. At this point I felt pretty bored and was happy to finally reach the car park.

Getting there

Date hiked: 2025/06/02

Stayed the night before at Hotel R9 The Yard 桐生. From there it is an hour drive to Ginzandaira Parking Lot (銀山平駐車場). Dropped by Mizunuma Onsen on the way back.

YAMAP track: https://yamap.com/activities/40457938

Mt Hakkoda (八甲田山)

The hike started peacefully with the first 30 minutes being a nice forest walk, which then progresses to a snow valley. I had put aside plans for climbing Mt Shirouma the previous week due to the extended road closure near the trailhead, so I was pretty happy to get to walk up the snow valley.

For the most part the ascend was gradual. The weather progressively got worse with winds picking up and visibility dropping to nothing as I continued though. After the snow valley the mountain opens up to what seem like a large flat plain.

Mt Hakkoda was previously the side of a military disaster where an entire army unit got lost and perished. Standing here in the large open plains in near whiteout conditions, it is not hard to imagine that over a hundred years ago, without the aid of modern GPS, one could wander indefinitely and not know where they are. Also something that is very misleading here is that although there are marker poles, they do not actually lead to the summit but seems to lead to a traverse along a different ridge. I suspect these are for skiers as often their goal is not the peak.

I got into a bit of a minor incident myself during the ascend after the snow field when I missed main trail. There’s a forested area which I was supposed to go through, and then it would have led up a rocky path that was free of snow, but I approached it slightly off course to the right. Seeing bits of vegetation, I had decided to avoid it and continue on the snow instead. At this point, the approach was getting pretty steep that I started to slip, so I put my crampons on. This route would have been fine had it been much earlier in the season when the snow was heavier, but now I could feel that in a lot of places, I was walking on a thin layer of snow just above vegetation that was about to break through, and that the grip of my crampons was tenuous. There was also a large crack that had developed that I had to work my way around. All in all, this last stretch was quite a bit of a struggle.

Postholing on the way back down got pretty bad and at one point one of my feet broke through the snow to find a gushing river underneath. Thankfully I didn’t fall all the way in.

Getting there

Stayed in Aomori the previous night. From Aomori, it’s a 40 minute drive to Sukayu. There is a free parking area that is rather large with toilets.

Car park: https://maps.app.goo.gl/mS7Nv2vpuzH3PcVBA

YAMAP track: https://yamap.com/activities/39644154

Mt Iwaki (岩木山)

Driving up by the Tsugaru Iwaki Skyline to the 8th station of Mt Iwaki, it was a rather short hike. Had I waited one more day, the hike would have been even shorter as the lift would have opened for the season then. Before May, one would have to hike all the way up to the top from Dake Onsen, but the skyline to the 8th station opens on 5/1.

I cramponed up right at the edge of the carpark at the start of the trail head. Microspikes would have probably worked just as well. Right after the start is a traverse with a long run off that I think would honestly entail using an ice axe for safety, but these days everyone gets by with just trekking poles. Around the hut the snow mostly disappears, and in one section the melted ice resulted in a waterlogged path.

The wind also really started picking up from here, but it is not far from the top. From the top, staring at the mountain ranges around that I knew little of was a spectacular experience.

Getting there

Drive up the Tsugaru Iwaki Skyline to the 8th station.

YAMAP track: https://yamap.com/activities/39632832

Hachimantai (八幡平)

Hachimantai (八幡平) is a pretty short hike where you can drive up most of the way. In the spring, the road only opens at 8:30am. Having very little driving experience, I wasn’t quite sure what that meant in terms of where the road would actually be opened/closed. I was able to drive most of the way up until there was a gate and line of a few cars waiting. There is a toilet and parking area near the gate. Shortly before 8:30am, someone came and opened up the gate.

As the name might suggest, the hike is mostly walking on flat ground. It’s more of a tourist attraction where people come and see the Dragon’s Eye, which is what the lake looks like in spring as the ice thaws from the outer edge inwards. It was still too early in the season when I visited. There wasn’t much elevation change and I was able to finish the hike in under an hour.

Getting there

Stayed the previous night at Morioka. Drive up the Hachimantai Aspite Line (八幡平アスピーテライン) to Mikaeritoge carpark (見返峠無料駐車場) which is free or the visitor carpark slight up ahead that has a small parking fee.

YAMAP track: https://yamap.com/activities/39627810

Mt Chokai (鳥海山)

Started the morning from Yurihonjo in Akita. Car navigation brought me up a closed road near Kurosawa Railroad Crossing. The first time it has been wrong. Switch to Google maps and headed up Akita Prefectural Route 287 instead which brought up to the Chokai Green Line and eventually the Yashimaguchi (矢島口) hiking entrance. Car park was packed when I arrived around 6:40 and had to park beside the road. Place is crowded with backcountry folks.

There are multiple approaches to Mt Chokai. Other than Yashimaguchi, the other popular route is using the Hokodate (鉾立) hiking trail from the Chokai Blue Line. However, parts of the Chokai Blue Line had been closed for the past few days due to snow so I decided on the Yashimaguchi approach instead.

Mt Chokai is a standalone volcanic mountain much like Fuji. The slopes are long but gentle. Soon after I started, I realized that I wasn’t following the trail I had marked out on YAMAP. The best thing about winter is the freedom of movement. You can walk anywhere.

Reaching the top of the caldera, I looked up at the sky which is something that I don’t often do. Most of the time I am preoccupied looking at my own feet in order not to trip over. The sun was surrounded by a strange halo. Later, further down the mountain, I would notice that there is also an outer ring of rainbow.

The summit was little removed from the outer ring of the volcano the trail lead me to. It required a small descent first and then up again. This was the only placed where I used an ice axe as the descent, and then returning back up again later on the same trail, was pretty steep. The marker for the peak was also facing a different direction and not immediately obvious.

The number of people climbing the peak was much lesser in comparison to the number of people on the mountain. It seems most of the backcountry people didn’t bother and just turned around at the outer ring of the caldera.

Getting there

Stayed the previous night at Yurihonjo. Took the Prefecture Route 287 up to Chokai Green Line and then Yashimaguchi (矢島口). Toilets are available at the 1st car park right at the trail head. For exact hiking trail, refer to the YAMAP track (https://yamap.com/activities/39607217).